Call us: (631) 270 9692
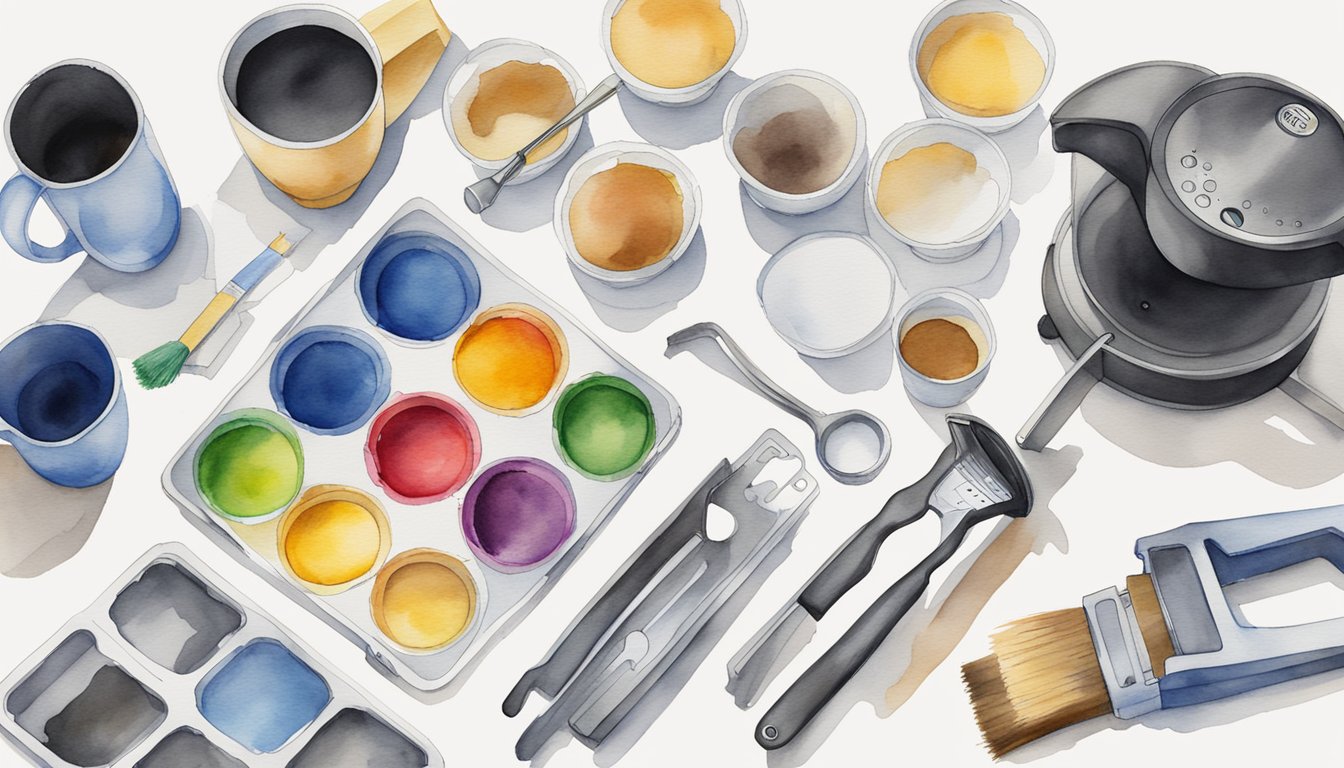
Owning a Keurig coffee maker is a great way to enjoy fresh coffee at home. Keeping it clean ensures that each cup tastes its best and that your machine lasts longer. To clean a Keurig, remove and clean the drip tray, water reservoir, and pod holder regularly.
Regular maintenance, including descaling, is key to preventing mineral build-up that affects performance. Use a mixture of distilled vinegar and water to run through the machine, as described in detail on various cleaning guides. It’s also important to change the water filter every few months.
By taking a few simple steps, you can keep your Keurig running smoothly and your coffee tasting fresh. From daily maintenance to monthly deep cleans, caring for your machine doesn’t have to be complicated. With the right routine, your Keurig will reward you with perfect brews every time.
Preparing Your Keurig for Cleaning
To clean your Keurig effectively, start by unplugging the machine and disassembling key parts. Inspect all removable components for built-up coffee grounds and other residues before diving into the cleaning process.
Unplugging and Disassembly
First, make sure to unplug your Keurig from the power outlet. This is crucial for safety reasons and prevents any electrical issues during cleaning.
Next, remove the water reservoir. This can usually be done by lifting it straight up. Empty out any remaining water and set the reservoir aside. Remove the drip tray as well, which should simply slide out from the bottom front of the machine.
Take out the K-Cup holder by lifting the handle on top of the Keurig, then carefully pulling the holder up and out. Some models have a detachable funnel at the bottom of the K-Cup holder, which can be separated by gently pushing the sides.
Inspecting Removable Parts
Check the water reservoir for any signs of limescale or mineral buildup, which often appear as white chalky deposits. If you see any, it might be time to descale the machine.
Inspect the drip tray for any collected coffee grounds or spilled liquids. The drip tray can often attract mold if not cleaned regularly. Make sure to clean it thoroughly with soap and water.
Look at the K-Cup holder and funnel for any coffee residue or build-up. These parts can harbor old coffee grounds, affecting the flavor of new brews. Ensure each component is free from any visible dirt or debris before proceeding with the cleaning process.
Cleaning and Descaling Procedures
To keep your Keurig running smoothly, you must clean and descale it regularly. This involves cleaning removable parts, descaling the water tank, and deep cleaning the needles and exit points.
Cleaning Removable Components
Start by unplugging your Keurig from the power outlet. Remove the water reservoir, lid, and drip tray. Take out the pod holder and funnel by lifting the handle and pulling up on the edges. Wash these components with warm, soapy water. A soft cloth or sponge can help to remove any buildup.
Rinse the parts thoroughly and let them air dry. Replace any water filters if necessary. Cleaning these components removes coffee residue and helps maintain the taste of your drinks.
Descaling the Water Tank and Internal System
Fill the water reservoir with a descaling solution or a mixture of equal parts white vinegar and water. If you prefer, you can use a descale a Keurig solution designed for this purpose. Place a large mug on the drip tray. Start a brew cycle without a K-Cup.
Let the machine run until the water tank is empty. This ensures that the descaling solution circulates through all internal components. After descaling, rinse the water tank thoroughly and run several brew cycles with fresh water to remove any vinegar or descaling solution residue.
Deep Cleaning for Needles and Exit Points
Unclog the needles with a paper clip. Open the handle and locate the entrance and exit needles. Carefully insert a paper clip into the small holes in the needles to clear out any coffee grounds or debris. Check the exit point beneath the pod holder as well.
Reassemble the machine and run a water-only brew cycle to ensure everything is clean. Regularly cleaning the needles helps prevent clogs and ensures your Keurig functions properly. Keeping these points clear is essential to maintain the flow of water and the quality of your coffee.
Reassembling and Post-Cleaning Maintenance

After cleaning your Keurig, it is important to properly reassemble the machine and maintain it for optimal performance. Ensuring all parts are rinsed, dried, and correctly fitted will help in keeping your coffee maker running smoothly.
Rinsing and Drying Components
Carefully rinse each component under warm water. Pay special attention to the pod holder and funnel, making sure all coffee grounds and residue are removed.
Allow each part to air dry on a clean towel to avoid moisture buildup.
Double-check that there is no lingering scale or debris, especially around the needles and the water reservoir.
Reassembling the Keurig
Once all parts are dry, begin reassembling your Keurig. Insert the pod holder back into its place by aligning it with the slots inside the machine.
Ensure the funnel is securely attached to the pod holder.
Reinsert the drip tray and any removable covers. Verify that each part is locked in place and functioning properly.
Running a Cleansing Brew
To eliminate any remaining cleaning solution or residue, run a cleansing brew with just water. Fill the reservoir with fresh water up to the maximum line.
Place a large mug on the drip tray. Select the largest brew size and start the brew cycle, repeating if necessary until the water runs clear.
This helps ensure no cleaning agents affect the flavor of your coffee.
Routine Maintenance Tips
To prolong the life of your Keurig, perform routine maintenance. Descale your machine every three to six months using white vinegar or a descaling solution.
Regularly clean the pod holder and needles to prevent clogs. Replace the water filter every two months to maintain water quality.
Consider using rinse pods for quick cleanings between deep cleanings. Keeping up with these steps will help maintain the performance of your Keurig coffee maker.


Hey mfc, any recommendations on a natural descaling solution for the Keurig? Prefer to avoid harsh chemicals.
love the deep cleaning tips. never realized how much gunk can build up in those needles. gonna try this weekend!
right? it’s shocking but so satisfying to clean out.
Interesting article. However, I’m curious if the descaling procedure is safe for all Keurig models.
All these steps seem excessive. Coffee should be simple, not a day’s project.