Call us: (631) 270 9692
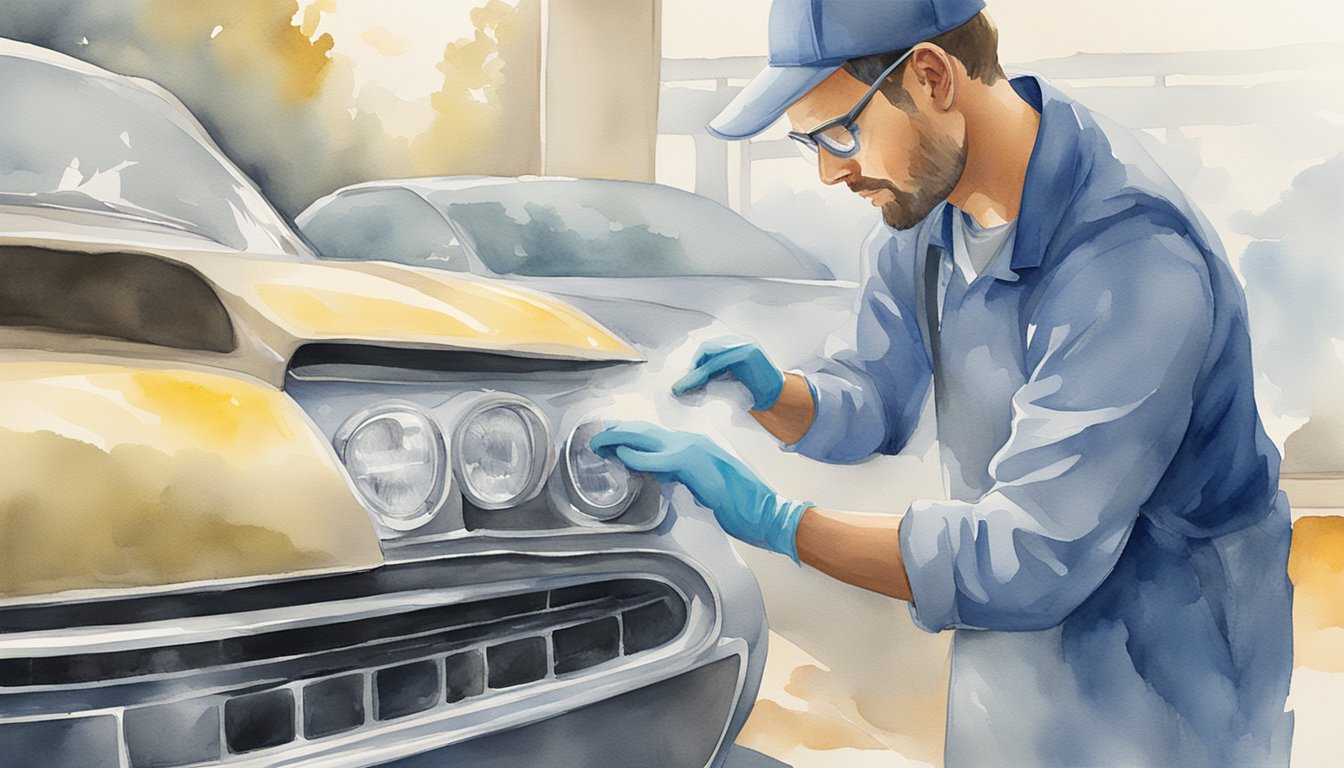
Maintaining clean headlights is crucial for your safety on the road. Over time, headlights can become foggy or cloudy, reducing your visibility and creating a safety hazard. Cleaning your headlights can significantly improve your nighttime driving visibility and overall car appearance.
Several methods can help you restore your headlights to their original clarity. You might use common household items like toothpaste or baking soda and vinegar for a quick fix. For a more thorough clean, a headlight restoration kit may be the best option.
By regularly incorporating headlight cleaning into your car maintenance routine, you ensure that your vehicle remains safe and functional. Keeping headlights clear enhances your ability to see and be seen, making your driving experience safer and more enjoyable.
Understanding Headlight Oxidation
Headlight oxidation is a common problem that affects the clarity and brightness of your car’s lights. It mainly occurs due to environmental factors and prolonged exposure to UV rays.
Causes of Headlight Deterioration
Headlight deterioration happens over time due to a few factors. One major cause is exposure to sunlight, which contains UV rays that break down the plastic in headlights. Road debris and chemicals can also contribute to wear and tear. These elements scratch and pit the surface, making it more prone to becoming cloudy and yellowed.
Another factor is the natural aging of the plastic. Over time, the plastic can degrade and lose its original clarity. When exposed to oxygen, this process speeds up, leading to oxidation.
Effects of UV Rays and Environmental Factors
UV rays are one of the main causes of headlight oxidation. These rays interact with the plastic material of the headlights, causing them to become cloudy and foggy. This effect is often compounded by other environmental factors, such as rain, snow, and road salt. These elements can leave residue and particles on the headlights, accelerating the oxidation process.
Humidity and temperature changes also play a role. When headlights are exposed to varying weather conditions, the plastic can expand and contract, leading to micro-cracks where oxidation can start. These cracks allow more oxygen and moisture to penetrate, worsening the cloudiness.
Identifying the Level of Cloudiness and Yellowing
To determine how oxidized your headlights are, you should look at their overall appearance. Slight cloudiness may indicate the early stages of oxidation, while more severe yellowing and fogging suggest advanced deterioration. One easy test is to shine a flashlight on the headlight surface at night. If the light diffuses, you likely have oxidation.
Feeling the surface of the headlights can also help. If it feels gritty or rough, this could be a sign of deeper oxidation and damage. Identifying the level of cloudiness and yellowing is important for choosing the correct cleaning method. Different levels of oxidation may require different solutions, from simple cleaning agents to more advanced restoration kits.
Understanding these factors can help you maintain clear, bright headlights more effectively.
DIY Headlight Cleaning Methods
Cleaning your headlights can improve visibility on the road. Here are some effective DIY methods to help make your headlights clear and bright again.
Using Toothpaste for Polishing Headlights
Toothpaste is a simple and inexpensive way to polish your headlights. First, clean your headlights with soap and water to remove any loose dirt. Then, apply a small amount of toothpaste to a soft cloth or sponge. Rub the toothpaste onto the headlight in circular motions. The mild abrasives in the toothpaste will help remove the hazy layer. Rinse with water and dry with a clean cloth. This method is great for minor cloudiness and easy maintenance.
Home Remedies with Baking Soda
Baking soda is a versatile cleaner that can be used with vinegar or water. Mix baking soda with enough warm water to form a paste. Apply the paste to the headlights using a sponge. Rub gently in circular motions to clean off grime and oxidation. Rinse the headlights with water and pat dry with a clean cloth. For tougher stains, mix baking soda with vinegar for added cleaning power. This method helps maintain clarity without harsh chemicals.
Wet Sanding Technique
The wet sanding technique is more intensive and requires sandpaper, such as 3000-grit sandpaper. Begin by cleaning the headlights with soap and water. Soak the sandpaper in water and sand the headlights in a side-to-side motion. Keep the surface wet at all times to avoid scratches. After sanding, rinse the headlights and dry them. Apply a polishing compound to remove any fine scratches from the sanding process. This method restores heavily oxidized headlights to clear condition.
Sealants and Protectants Application
After cleaning your headlights, applying a sealant can help protect them from future damage. Clean the headlights thoroughly before applying the sealant. Use a clean cloth to apply the sealant in circular motions, ensuring it covers the entire surface. Let the sealant dry according to the product instructions. This step creates a protective layer that prevents UV damage and keeps the headlights looking clear longer. Regular application helps maintain the headlight clarity.
For more detailed instructions, you can visit how to clean headlights.
Professional Headlight Restoration Services

Choosing professional services for headlight restoration can save time and ensure high-quality results. Professional services can address severe clouding and scratches that DIY methods might not fully fix.
When to Seek Professional Help
If your headlights are severely yellowed or scratched, it’s best to seek professional help. DIY methods may not be effective in these cases. Professional headlight restoration services have access to specialized tools and products that can restore your headlights more effectively.
Cloudiness that returns quickly after DIY cleaning is another indicator. Professionals can also handle complex tasks, such as replacing parts without damaging the headlight.
Benefits of Expert Restoration
Opting for expert restoration ensures that your headlights are restored to optimal clarity. Professionals use advanced techniques and products that you might not find in a DIY restoration kit. They also have the experience to avoid common pitfalls, like damaging the headlight during cleaning.
Expert services often include additional benefits, such as a longer-lasting finish. This means less frequent restoration is needed. They also provide a hassle-free experience, so you don’t have to spend time and effort on the task.
Comparing DIY vs Professional Costs
While DIY headlight restoration kits are cheaper upfront, they might not offer the same level of clarity and longevity. Professional headlight restoration services may seem expensive initially, but they can save you money in the long run by reducing the need for frequent cleanings.
A DIY kit might cost between $20 and $40, while professional services can range from $50 to $150 per headlight. The cost of professional services includes the use of advanced tools and materials, as well as the expertise that ensures a more durable restoration.


