Call us: (631) 270 9692
Maintaining our Keurig coffee makers is essential for enjoying a fresh cup of coffee every day. One simple and effective method is using white distilled vinegar. To clean your Keurig with vinegar, fill the water reservoir with a mixture of equal parts vinegar and water. This solution helps remove mineral deposits, coffee residue, and buildup inside the machine.
Next, place a mug under the spout and run a brew cycle without a K-cup in place. Keep doing this until you’ve used all the vinegar solution. After that, fill the reservoir with clean water and run several more brew cycles to rinse out any remaining vinegar taste.
Regularly descaling and cleaning our Keurig not only keeps our coffee tasting great but also extends the life of the machine. For more detailed instructions on cleaning a Keurig, check out this guide on how to clean a Keurig with vinegar. Happy brewing!
Preparing Your Keurig for Descaling
Before we descale our Keurig, we need to take some basic steps to ensure safety and gather all necessary supplies. We also have to disassemble any removable parts to make the cleaning process smoother and more effective.
Safety Precautions
First, unplug the machine to avoid any risk of electric shock. Even though we will be using simple items like water and vinegar, it’s crucial to remember that we’re dealing with an electrical appliance.
Make sure the machine is turned off and cooled down. Handling a hot machine can cause burns. Finally, keep the area well-ventilated to avoid inhaling vinegar fumes, which can be quite strong.
Assembling Cleaning Supplies
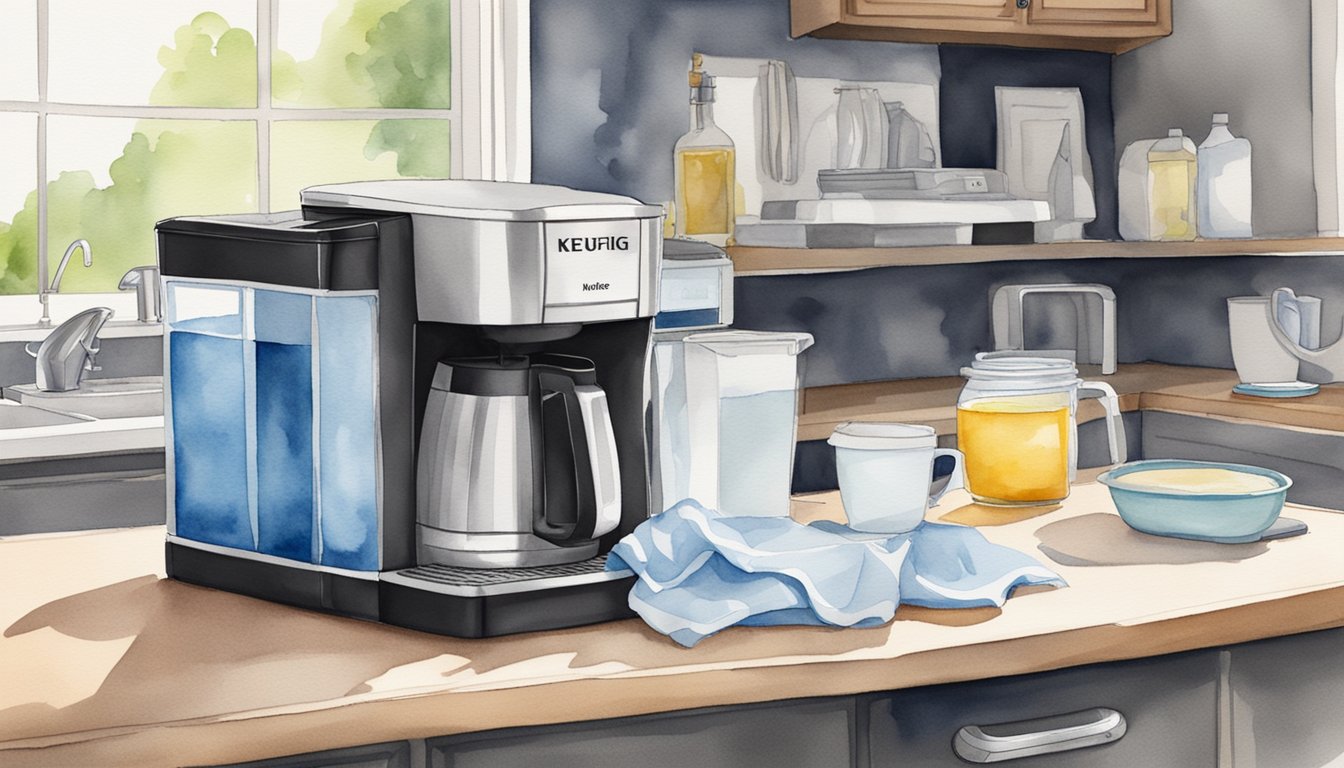
We’ll need a few simple supplies: white vinegar, fresh water, a clean cloth, and a container to catch the used solution. White vinegar is an effective and affordable cleaning agent. Make sure to use only white vinegar, as other types can leave residue.
We’ll also need a large cup or mug to place on the drip tray to catch the liquid as it runs through the system. Additionally, a clean cloth is helpful for wiping down surfaces. Having everything prepared beforehand will make the process quick and easy.
Disassembling Removable Parts
Remove the water reservoir and empty any remaining water. This part needs thorough cleaning to ensure no old water or residue remains. Take out the drip tray and the pod holder, as these can collect coffee grounds and other debris.
Wash each part with warm, soapy water and rinse thoroughly. Ensuring each part is clean before reassembling will help the vinegar solution work more effectively. Reassemble the parts once they are clean and dry, making sure each component is securely in place.
By following these steps, we set a good foundation for descaling our Keurig efficiently and effectively.
Descaling Process with Vinegar
Descaling your Keurig with vinegar helps remove mineral buildup and ensures the machine works efficiently. We’ll guide you through mixing the vinegar solution, running the descaling cycle, and rinsing the machine.
Mixing Vinegar Solution
First, we need to prepare the descaling solution. Use white vinegar, which is effective for removing scale. Mix equal parts water and vinegar to create the descaling solution.
For example, if your Keurig has a 48-ounce water reservoir, you’ll need to mix 24 ounces of water with 24 ounces of white vinegar. This vinegar-water solution will be our cleaning agent. It’s a simple and cost-effective way to keep your Keurig in good shape.
Running the Descaling Cycle
Place a large mug on the drip tray to catch the liquid. Turn on your Keurig and select the largest brew size. Begin the brew cycle. Let the vinegar-water solution pass through the machine until the reservoir is empty. If your Keurig has a descaling light, make sure it turns off by the end of the process.
For some models, you may need to repeat this step multiple times until the light goes off. This ensures all mineral deposits are thoroughly removed from the internal components. Refer to detailed instructions for specific models if needed.
Rinsing the Machine
After descaling, it is crucial to rinse the machine to remove the vinegar taste. Fill the reservoir with fresh water and run several rinse cycles. Use the largest brew size and continue running the water-only cycles until the reservoir is empty. This flushes out any residual vinegar and leftover scale particles.
We recommend running at least two full reservoirs of water through the machine for a thorough rinse. Once completed, your Keurig should be free of both mineral buildup and any vinegar taste, ready to brew fresh coffee again. For other cleaning tips, you can check how to clean a coffee maker using vinegar.
Post-Descaling Maintenance and Tips

Regular upkeep of your Keurig after descaling ensures long-lasting performance and great-tasting coffee. We will cover how to clean external parts, maintain a regular cleaning schedule, and handle common cleaning issues.
Cleaning External Parts and Accessories
After descaling, it’s essential to clean the external parts of your Keurig. Wipe the exterior with a cloth and soapy water to remove any coffee grounds and dust. Be sure to dry the machine thoroughly to prevent water spots.
For the drip tray and the water reservoir, use dish soap and warm water. These parts can often be cleaned in the dishwasher, but check the manual first. Remember to clean the K-cup holder and needle to avoid mineral deposits.
Maintaining Regular Cleaning Schedule
Maintaining a regular cleaning schedule helps keep your Keurig in optimal shape. We recommend descaling every three to six months, depending on your water hardness. Frequently changing water filters can also help prevent mineral buildup.
Wipe the exterior weekly with a damp cloth to keep it clean. Make sure to clean the drip tray, water reservoir, and K-cup holder monthly. Regular cleaning will also help prevent any mold or bacteria growth inside the machine.
Addressing Common Cleaning Issues
Even with regular maintenance, you might encounter some common cleaning issues. Coffee grounds can clog the needles; use a paperclip to clear them out. If you notice a decline in performance, mineral deposits might be the culprit. Descaling should resolve this issue.
If the machine isn’t brewing a full cup, ensure the water reservoir is properly seated and clean. Empty and air dry the reservoir to avoid any lingering odors. By addressing these common issues promptly, we can ensure our Keurig works efficiently for a long time.
For more detailed instructions on descaling your Keurig, you can refer to this guide on cleaning a Keurig with vinegar.
For additional tips on maintaining your Keurig, this resource on descaling with vinegar is quite helpful.


