Call us: (631) 270 9692
Keeping our Beauty Blender clean is crucial for maintaining clear skin and effective makeup application. Makeup sponges can harbor bacteria and oil, leading to breakouts and irritation if not properly cared for. Cleaning your Beauty Blender after every use helps prevent these issues and ensures your sponge stays in top condition.
We suggest using one of several methods to clean your beauty blender. You can use liquid soap, a bar of soap, or even the microwave method to kill bacteria and remove makeup residue. It’s important to let the sponge soak, scrub it gently, and rinse thoroughly to keep it hygienic.
For those who are short on time, a quick yet effective option is to use special soaps designed for beauty blenders or microwave-cleaning which can help sanitize the sponge in a matter of minutes. By incorporating these easy cleaning routines, we can ensure our Beauty Blenders are always ready for flawless makeup application.
Daily Cleaning Techniques
Daily cleaning helps to keep our beauty blender free from makeup residue and bacteria. Ensuring we properly clean and dry the sponge will extend its life and maintain its effectiveness.
Quick Cleansing Tips
For quick daily cleans, we can use warm water and a small amount of soap. Wet the sponge thoroughly and apply a few drops of soap. Gently massage it to create a lather. Focus on areas with heavy makeup stains. Once it looks clean, rinse under running water until the water runs clear. This daily routine helps prevent buildup and keeps our beauty blender in top condition.
Choosing the Right Soap
Selecting the right soap is essential for effective cleaning. Hand soaps, dish soaps, and shampoos work well. A good option is a gentle, unscented hand soap, which is effective and less likely to irritate the skin. Some experts recommend using a mild dish soap like Dawn, as it cuts through oil and makeup residue effectively. Avoid harsh detergents that could break down the sponge material. Always ensure the soap is thoroughly rinsed out to avoid residue.
Ensuring Proper Drying
Proper drying is crucial to prevent mold and bacteria growth. After rinsing the beauty blender, gently squeeze out excess water without twisting. We can then place it in a well-ventilated area to air dry. Using a clean towel to pat it dry first can help speed up the process. Ensure it’s completely dry before storing it to maintain its shape and hygiene. For faster drying, some users find it helpful to place the beauty blender in a mesh bag and hang it in an airy spot.
Deep Cleaning Practices
Deep cleaning your beauty blender ensures it stays free of bacteria and buildup, which can improve the quality of your makeup application and reduce skin irritation. Here are methods to effectively deep clean and sterilize your beauty blender.
Effective Soaking Methods
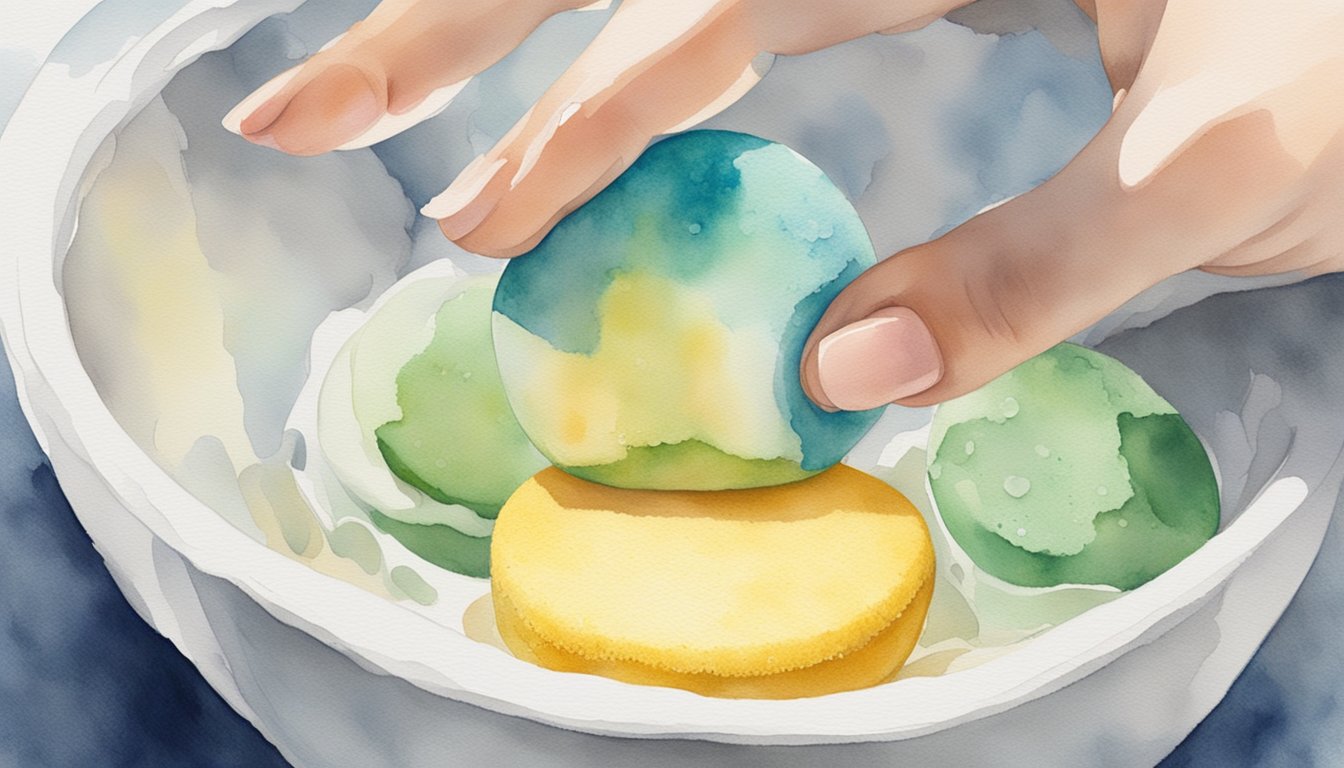
Soaking your beauty blender is a great way to break down deep-seated makeup and oils. We can start by filling a bowl with warm water and adding a few drops of dish soap or blender cleanser. Let your beauty blender soak in the water for about 30 minutes. This helps to loosen up the makeup residue.
After soaking, remove the beauty blender and squeeze out the dirty water. Massage soap into any heavily stained areas. To rinse, run it under water and keep squeezing until the water runs clear. Repeat the soak and rinse process if necessary to ensure it’s fully clean.
Mechanical Washing Alternatives
For those of us looking for a less manual approach, a washing machine can be very effective. Place your beauty blender in a lingerie bag or a sock to protect it. Use a gentle cycle with warm water and a mild detergent. This method is great for deep cleaning multiple blenders at once.
Another option is to use a silicone scrubber. We can rub the beauty blender on the scrubber with some bar soap to create a rich lather. This helps scrub off tough stains while being gentle on the sponge.
Sterilizing Beauty Blenders
Sterilizing your beauty blender is crucial to keep bacteria at bay. One of the simplest methods is to use a microwave. Place the beauty blender in a microwave-safe bowl filled with soapy water. Microwave it for 60 seconds. Be cautious and let it cool before handling it to prevent burns.
After microwaving, rinse the beauty blender thoroughly under water to remove any soap residue. Let it air dry in a well-ventilated area to prevent mold growth.
Alternatively, we can use boiling water to sterilize. Submerge the beauty blender in boiling water for about five minutes. This helps kill any remaining bacteria. Be sure to allow it to cool before using it again.
Using these deep cleaning practices ensures our beauty blenders remain in top condition and safe for use.
Maintaining and Replacing Your Sponge

Proper maintenance of your beauty blender is essential to avoid makeup residue, stains, and potential breakouts. Equally important is knowing when it’s time to replace your makeup sponge altogether.
Assessing Sponge Lifespan
We must assess the condition of our beauty blender regularly to ensure it’s still effective. Most sponges have a lifespan of three to six months, depending on how often they are used and how well they are maintained. If we use our sponge daily, it’s best to replace it every three months. Less frequent users might stretch it to six months.
Maintaining a regular cleaning schedule helps extend the life of our sponge. By washing our sponge multiple times per week with a proper cleaning method, we can remove makeup residue and bacteria. This minimizes wear and tear, allowing us to get the most out of our beauty blender before it needs replacing.
Signs of Wear and Tear
Recognizing when our sponge is past its prime is crucial for both effective makeup application and skin health. The first signs include visible tears or rips. If the sponge starts to crumble or loses its shape, it’s time to replace it. Stubborn stains that won’t wash out, even with thorough cleaning, are another indicator.
We should also watch for any changes in texture. If our beauty blender has become too soft or has developed a rough surface, it’s not functioning correctly and might even cause skin irritation. Mold or a persistent foul smell indicates the sponge is no longer sanitary, and using it can lead to breakouts or other skin issues.
Sponge Storage Solutions
Proper storage of our beauty blender can greatly affect its longevity. After cleaning, always allow the sponge to dry completely in a well-ventilated area. Storing it while it’s still damp can encourage bacterial growth and mold. Avoid keeping the sponge in a sealed bag or container where moisture can get trapped.
We can use a dedicated sponge holder or a breathable mesh bag. These allow air to circulate around the sponge, ensuring it dries thoroughly. Also, avoid storing our sponge in direct sunlight as it can degrade the material over time. With the right storage practices, we can help ensure our makeup sponge remains clean and in good condition for longer.
By following these tips, we can maintain and replace our beauty blender effectively, keeping our makeup routine smooth and our skin healthy. For more detailed steps on cleaning the sponge, you can refer to recommendations from Real Simple and Glamour.


