Call us: (631) 270 9692
Cleaning a dryer might sound like a mundane task, but it’s crucial for both safety and performance. A properly cleaned dryer can prevent fires and improve energy efficiency, which can save us money on our electricity bills. Regular maintenance helps avoid costly repairs and extends the lifespan of our appliance.
When we clean the lint trap, drum, and vent, we remove the dust and debris that accumulate over time. This build-up can cause our dryer to work harder than necessary, leading to higher energy consumption and potential damage to our clothes. Keeping the dryer free of lint also significantly reduces the risk of fire hazards, ensuring a safer home environment.
By learning how to clean our dryer properly, we take an essential step towards maintaining a safe and efficient household. Whether we need to know how to clean the lint trap or tackle the exhaust hose, simple and regular upkeep makes a big difference. Taking action now can lead to smoother laundry days and peace of mind.
Preparation and Safety
Before we begin to clean a dryer, we need to gather the right tools and ensure safety. Proper preparation can prevent accidents and make the process more efficient.
Gathering the Right Tools
First, we need a few essential tools. A screwdriver is necessary to remove any panels for deeper cleaning. We also need a vacuum with a hose attachment to suck up lint and dust. A microfiber cloth and a bucket of soapy water are useful for wiping down the drum.
Don’t forget a lint brush to clean out the lint trap and exhaust hose. For stubborn stains inside the dryer drum, keep some dish soap and bleach on hand. These items will help ensure a thorough cleaning.
Ensuring Safety Before Starting
Safety is crucial when cleaning a dryer. First, we must unplug the dryer to prevent electrical shock. For a gas dryer, it’s important to turn off the gas valve to avoid any gas leakage. This step is necessary to prevent potential fire hazards.
We should move the dryer away from the wall to access the back and clean the exhaust hose. Checking for clear lint traps and vent paths can help prevent fires caused by clogged lint. Adequate preparation and attention to safety protect us from accidents during the cleaning process.
Remember, these steps not only help in cleaning but also in improving the dryer’s efficiency and lifespan.
Cleaning Process
To ensure your dryer works efficiently and safely, it’s essential to regularly clean key components. This helps maintain performance and reduces fire hazards caused by lint buildup.
Lint Trap and Dryer Drum
First, we need to remove the lint trap from the dryer. This trap catches lint from clothes during drying, and a clean trap improves airflow. To clean it, remove the lint screen and discard any collected lint.
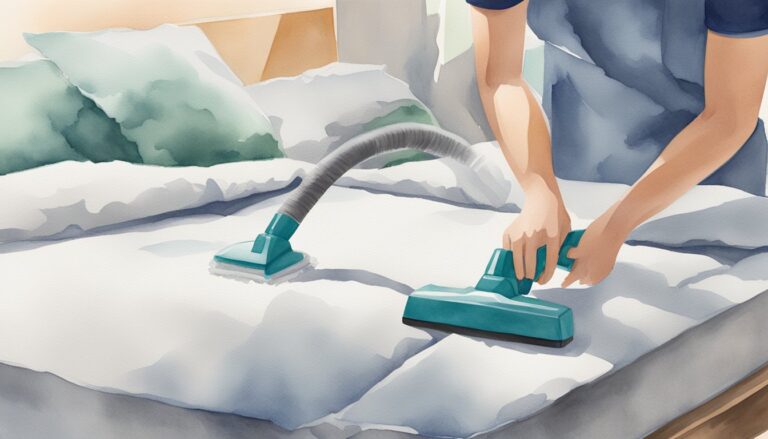
Next, vacuum the interior and exterior of the lint trap with a vacuum cleaner, especially using a crevice tool. Don’t forget the moisture sensor strips as well. Vacuuming these areas ensures all trapped particles are removed.
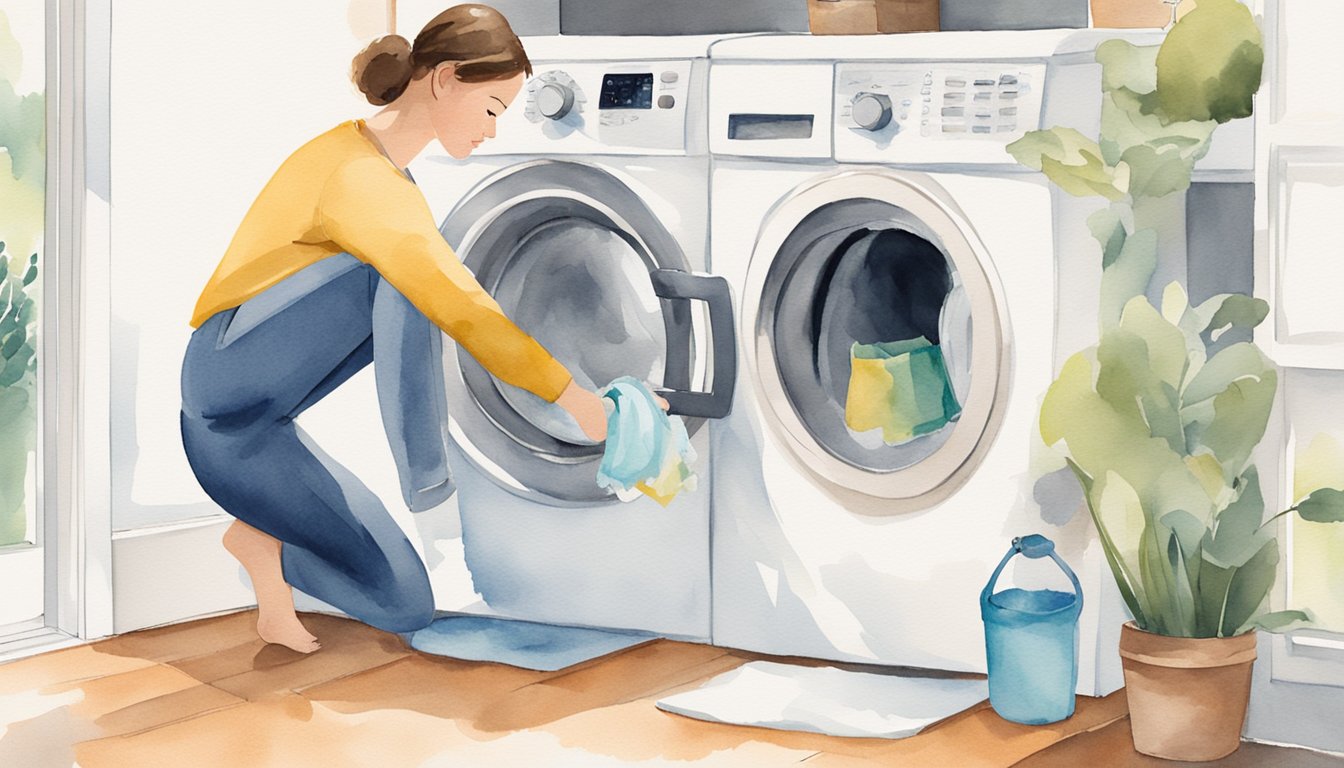
For the dryer drum, mix a solution of dish soap and warm water. Use a microfiber cloth dipped in this solution to wipe down the drum, removing any dirt and residual particles. If there are stains, such as lipstick, grease, or ink, take extra care to scrub these spots until clean.
Ventilation System
Unplug the dryer and pull it away from the wall to access the ventilation system. The vent duct can become clogged with lint, dust, and debris, reducing the dryer’s efficiency and posing a fire risk.
Detach the vent hose from the dryer and the wall. Use a dryer vent cleaning kit or a long, flexible nylon brush to clean inside the vent duct thoroughly. Insert the brush as far as it will go, spinning it to gather any lint.
Once the vent duct is clean, reattach it to the dryer and wall. Ensure it is securely connected to prevent any leaks. Regular maintenance of the dryer’s vent system is crucial for safe and efficient operation.
Exterior Dryer Areas
Cleaning the exterior areas of the dryer is equally important. Start by wiping down the outside surfaces, including the control panel, with a damp microfiber cloth. This removes dust, fingerprints, and smudges.
Don’t forget to clean the glass door. For this, use a mixture of vinegar and water on the microfiber cloth to remove any smudges or residue. Pay special attention to the edges and the rubber seal around the door.
Keeping the exterior clean not only ensures a neat appearance but also prevents dust and dirt from entering the dryer’s internal components. Regularly maintaining these areas can help prolong the life of your dryer and keep it working efficiently.
Maintenance and Troubleshooting

For optimal performance and to avoid potential problems, regular maintenance and knowing how to troubleshoot common issues with your dryer are essential. These steps will help you keep your dryer efficient and safe.
Regular Maintenance Tips
We should always clean the lint screen after every use. This helps to ensure optimal performance and prevents dryer fires. Additionally, wiping down the dryer drum with a damp cloth can prevent mold and keep the dryer fresh.
It’s crucial to vacuum the interior and exterior of the lint trap every six months. This deep clean removes any residue buildup and improves airflow. During this process, we also need to clean the exhaust hose by removing it and clearing any lint or debris that may have accumulated. Doing this reduces drying times and enhances the dryer’s performance.
Running an empty cycle with a damp cloth can help to remove any remaining lint or debris from the drum. This is a simple way to maintain the cleanliness and efficiency of our dryer.
Troubleshooting Common Issues
If you notice your dryer is taking longer to dry clothes, it might be due to a clogged lint trap or exhaust hose. Ensuring these are cleaned can often resolve the issue.
A dryer that won’t start might have a tripped circuit breaker or a blown fuse. Checking and resetting the breaker may help. If the dryer starts but doesn’t heat, this could indicate a problem with the thermal fuse or heating element. In this case, contacting an appliance repair professional might be necessary.
Strange noises during a drying cycle can be a sign of worn-out drum support rollers or belts. If we hear such noises, inspecting and replacing these parts can prevent further damage.
By performing these maintenance and troubleshooting steps, we can extend the life of our dryer and ensure it runs smoothly. For more detailed steps, you can visit Whirlpool’s guide on how to clean a dryer.


