Call us: (631) 270 9692
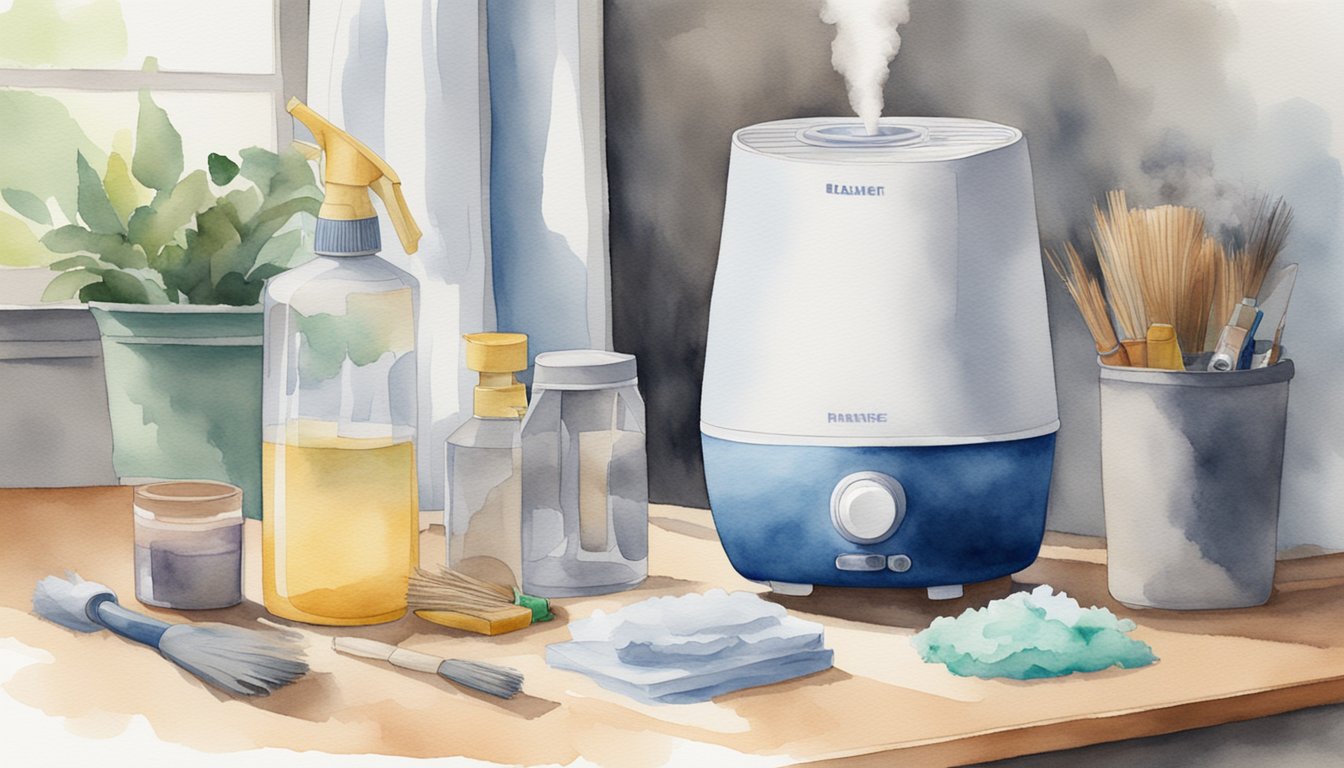
Keeping your humidifier clean is crucial for maintaining good air quality in your home. When you regularly use a humidifier, it can become a breeding ground for mold and bacteria if not properly cleaned. To clean your humidifier, start by disassembling it and rinsing each part thoroughly.
For effective cleaning, you can use a mixture of vinegar and water or a small amount of bleach diluted in water. Make sure you scrub all corners and crevices to remove any mineral buildup or slime. This helps to ensure the air you breathe is safe and healthy.
Neglecting maintenance can lead to poor performance and potential health risks. Regular cleaning not only improves the efficiency of your humidifier but also extends its lifespan. To keep it running smoothly, always empty and dry the tank after each use and perform a deep clean weekly.
Preparing Your Humidifier for Cleaning
Before cleaning your humidifier, you need to unplug and disassemble it, as well as empty the water tank. These steps ensure the cleaning process is both safe and effective.
Unplugging and Disassembly
First, make sure to unplug your humidifier from the electrical outlet. This is crucial for your safety and prevents any electrical hazards. Next, refer to your humidifier model’s manufacturer’s instructions for disassembly. Typically, you will need to remove the water tank, filter, and other removable parts.
Set these parts aside in a clean space. Some humidifiers have additional components, so be sure to take them apart carefully to avoid damage. Keeping the disassembled parts organized will make the cleaning process more manageable and ensure that you can reassemble the unit correctly later.
Emptying the Water Tank
After unplugging and disassembling the humidifier, empty the water tank. Pour out any remaining water to prevent the buildup of mineral deposits and bacteria. Rinse the tank with clean water to remove loose debris.
For a more thorough cleaning, you may need to fill the tank with a solution of water and a cleaning agent like vinegar, according to specific guidelines for your humidifier model. Make sure to follow the manufacturer’s instructions carefully during this process.
Cleaning the Humidifier
Maintaining a clean humidifier involves removing mineral deposits, disinfecting the tank, and cleaning the base and filter. Each step ensures your humidifier works efficiently and safely.
Removing Mineral Deposits
Mineral buildup can clog your humidifier, reducing its efficiency. To remove deposits, fill the tank with a solution of water and white vinegar. Let it sit for at least 20 minutes. The vinegar helps dissolve the minerals. Use a sponge or brush to scrub all surfaces, especially the crevices and corners. Ensure you rinse the tank thoroughly with water to remove any vinegar residue.
Disinfecting the Tank
Disinfecting the tank kills germs and bacteria that might be growing inside. After cleaning with vinegar, mix a gallon of water with one teaspoon of liquid chlorine bleach. Fill the tank partway with this solution and let it stand for 20 minutes. Afterward, rinse the tank multiple times with clean water to ensure no bleach is left.
Cleaning the Base and Filter
The base and filter need regular cleaning to keep the humidifier running well. Unplug the unit first. Wipe the base with a damp cloth soaked in vinegar solution to remove any buildup. For the filter, check the manufacturer’s instructions. Many filters can be rinsed under cold water to clear out dust and debris. Let the filter dry completely before putting it back into the unit.
After-Cleaning Maintenance and Tips

Ensuring your humidifier stays clean and functional involves proper drying, regular maintenance, and correct storage practices. These steps help prevent mold growth and ensure the device works efficiently.
Drying and Reassembling
After cleaning, make sure all parts of the humidifier are completely dry. Let the tank and base air dry thoroughly. Use a clean, dry cloth to wipe any remaining moisture from smaller components.
Once dried, reassemble the humidifier according to the manufacturer’s instructions. Proper reassembly helps avoid problems when starting the machine the next time. This step also helps in preventing mold growth and ensures a proper fit of all components.
Regular Maintenance Schedule
Maintaining a regular cleaning schedule is critical. Clean your humidifier at least once a week if used frequently. Check the manufacturer’s manual for specific instructions.
Daily, empty the water tank and rinse it to avoid buildup of minerals or bacteria. Replace filters as recommended by the manufacturer to ensure optimal performance. Keeping the humidifier clean also extends its lifespan and improves air quality.
Proper Storage Practices
When the humidifier is not in use, store it properly to keep it clean and functional. Disassemble all parts and ensure they are dry before storage. Avoid storing the humidifier with water in the tank or base.
Place the humidifier and its parts in a dry, cool place. Keep the manual and any small components together to avoid losing them. Proper storage prevents mold growth, damage, and ensures the humidifier is ready for use when needed again.


