Call us: (631) 270 9692
Cleaning your AC coils is essential for maintaining the efficiency and longevity of your air conditioner. By keeping the coils clean, we can ensure better performance and lower energy bills. Dirty coils can lead to higher electricity usage and decreased cooling efficiency, causing our HVAC system to work harder.
When we clean the AC coils regularly, we also improve indoor air quality. Dust and debris on the coils can contribute to a less healthy environment inside our homes. This simple maintenance task not only helps the air conditioner run smoothly but also enhances the comfort and safety of our living spaces.
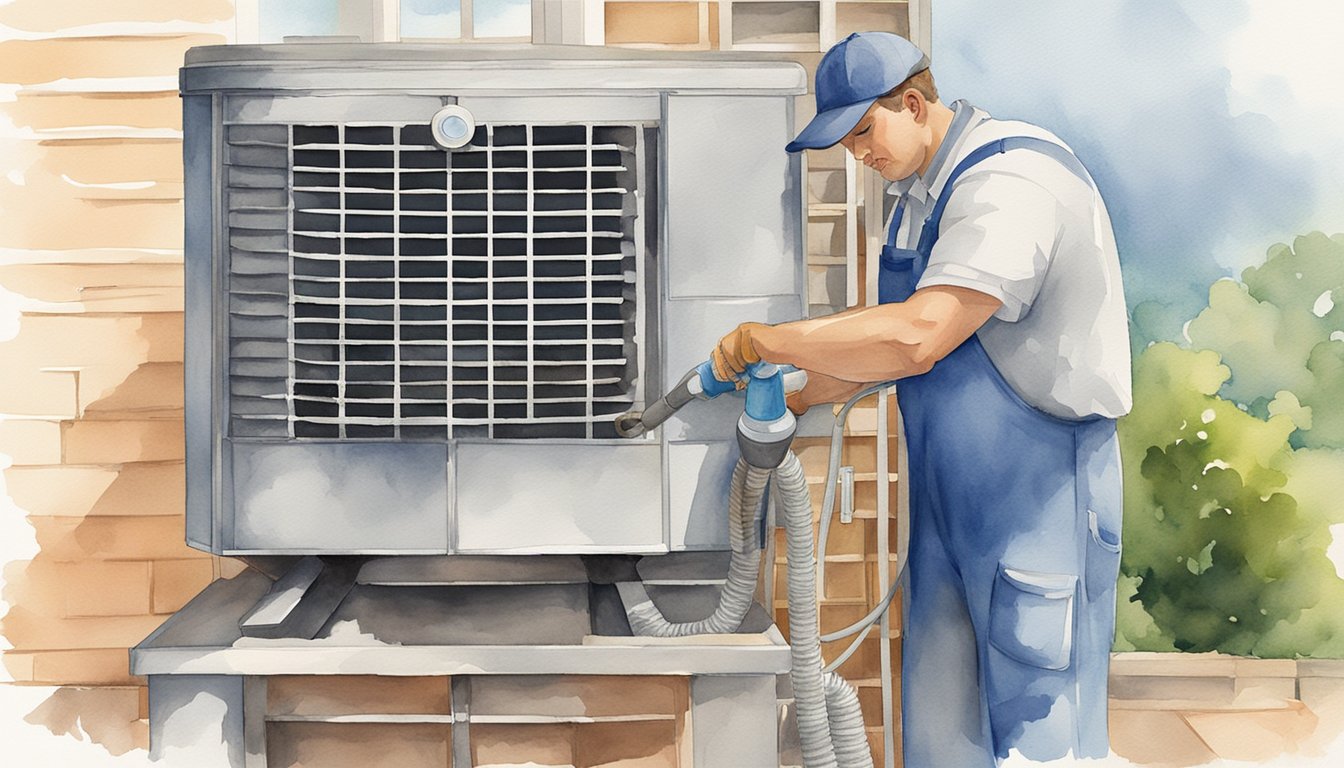
To get started, we’ll need to locate and inspect the coils. Depending on the AC unit type, this might involve removing a few panels. Once we’ve accessed the coils, we can follow a step-by-step guide to brush, rinse, and apply a coil cleaner for thorough cleaning. Check out this step-by-step guide for homeowners to make sure we do it right.
Understanding AC Coils
AC coils are crucial for maintaining the efficiency and performance of air conditioning systems. They come in different types and play a significant role in the heat exchange process, which is essential for cooling.
Types of AC Coils
There are two primary types of AC coils: evaporator coils and condenser coils.
Evaporator coils are usually found inside the indoor unit of an air conditioning system. These coils absorb heat from the indoor air, causing the refrigerant inside the coils to evaporate and cool the air that is recirculated back into the home.
Condenser coils are located in the outdoor unit. These coils release the heat absorbed by the refrigerant to the outside air. The refrigerant condenses back into a liquid form during this process, allowing it to cycle back to the evaporator coil. Keeping both coil types clean ensures the system operates efficiently and extends its lifespan.
Function of AC Coils in Air Conditioning Systems
The primary function of AC coils is to facilitate heat exchange.
Evaporator coils, placed inside the air handler, absorb heat from the interior of the house, cooling the air. For effective cooling, dirt and debris must be removed regularly.
Condenser coils expel heat from the refrigerant to the outside air. Any dirt buildup on these coils can hinder their ability to release heat, causing the system to work harder. Cleaning these coils improves efficiency and reduces energy consumption.
Routine cleaning of both evaporator and condenser coils is essential to maintain the efficiency and performance of an air conditioning system, lowering energy use and preventing potential damage.
Preparation for Cleaning AC Coils
Before cleaning AC coils, we should take safety precautions, gather all necessary tools, and ensure we can access the coils effectively.
Safety Measures
When working with any electrical appliance, including air conditioners, safety comes first. We should start by turning off the power to the AC unit to prevent any electrical accidents. Using gloves and safety glasses is essential to protect our hands and eyes from dirt, debris, and cleaning chemicals. Additionally, wearing chemical-resistant gloves can provide extra protection when handling coil cleaners.
Gathering Necessary Tools and Materials
To clean AC coils efficiently, we need specific tools and materials. These include a screwdriver to remove the access panel and a protective grille to keep the unit safe. We should also have a coil cleaner, which we will use to spray onto the coils to help remove grime. A garden hose can be very useful for rinsing off the cleaner and any loosened debris. It’s important to keep all tools and materials within reach to streamline the process.
Accessing the Coils
Accessing the AC coils usually involves removing an access panel. We will need a screwdriver to take off this panel carefully. Once the panel is off, we can see the coils clearly. If our unit has a protective grille, we might need to remove it as well to fully access the coils. After gaining access, we can then proceed with the cleaning steps effectively.
By carefully preparing ourselves and gathering the right tools, we can ensure a safe and efficient cleaning process.
Step-by-Step Coil Cleaning Process

This process includes removing debris and dirt, applying a cleaning solution, and rinsing the coils thoroughly to ensure efficient airflow and performance.
Removing Debris and Dirt
First, turn off the power to the air conditioner for safety. Using a shop vac or a brush, we start by removing any loose dirt and debris around the unit. It’s important to clear away leaves, grass, and dust that can block airflow.
Next, we use compressed air or a soft brush to gently clean the aluminum fins. If there are bent fins, we can straighten them carefully with a fin comb. This allows for better airflow and helps the coils function properly.
Cleaning the area around the drain is also crucial, as accumulating dirt can block it. This step ensures that water drains out effectively and doesn’t pool around the coils, which can lead to mold growth.
Applying the Cleaning Solution
After removing the debris, we apply a coil cleaner or a mild detergent solution to the coils. These chemicals are designed to break down grime and dirt that can build up over time. A foam cleaner is especially useful because it expands and lifts dirt from the coils.
We spray the cleaner evenly across the coils, making sure every part is covered. It’s important to follow the instructions on the cleaner. Generally, we let it sit for 5-10 minutes to allow the foam to work.
During this wait, we should observe the cleaner to ensure it is foaming properly. This step is vital as the foam helps in loosening the grime, making it easier to rinse off later.
Rinsing the Coils
The final step involves rinsing the coils thoroughly with a garden hose. Using a gentle spray, we start at the top and work our way down, ensuring that all the cleaner and loosened dirt are washed away. It’s essential to be thorough during this step to remove all residues from the coil cleaner.
If water pressure from the hose isn’t enough, a wet/dry vacuum can help remove stubborn grime. Ensuring the coils are fully rinsed helps them perform optimally and prevents any buildup from affecting the refrigerant.
Once rinsed, we let the coils dry completely before reassembling the unit and turning the power back on. This ensures everything is back in place and functioning correctly. Regularly cleaning air conditioner coils helps maintain efficiency and improve the lifespan of the unit. For more information, check out this detailed guide on coil cleaning.


