Call us: (631) 270 9692
Cricut mats are essential tools for any crafting enthusiast, but they can lose their stickiness over time. Cleaning your Cricut mat properly can restore its stickiness and save you money. Regular maintenance is key to keeping your mat in good condition, ensuring precise cuts and optimal results for your projects.
There are several methods to clean a Cricut mat, each tailored to different levels of grime and types of mats. For light cleaning, baby wipes or a lint roller can effectively remove small debris. For a deeper clean, dish soap and a scraper can work wonders. It’s important to choose the right method based on how dirty the mat is and the type of material you use.
To extend the life of your mat, follow care tips such as using a cover sheet when storing it. For detailed guidance on the entire process, how to clean Cricut mat provides further insights. By taking proper care of your mat, you can enjoy smoother crafting sessions and better results with every cut.
Preparing Your Cricut Mat for Cleaning
Before we start cleaning, it’s crucial to identify the type of Cricut mat and gather the right tools. We’ll also take steps to remove any debris that might interfere with the cleaning process.
Identifying Mat Type
First, we need to determine which type of Cricut mat we have. Cricut mats come in different colors, each designed for specific materials. The green mat, for example, is for standard materials like vinyl and paper. The blue mat is for light materials, while the purple mat is for heavy materials. Knowing the mat type ensures we use the appropriate cleaning methods and avoid damaging the adhesive surface.
Gathering Suitable Cleaning Tools
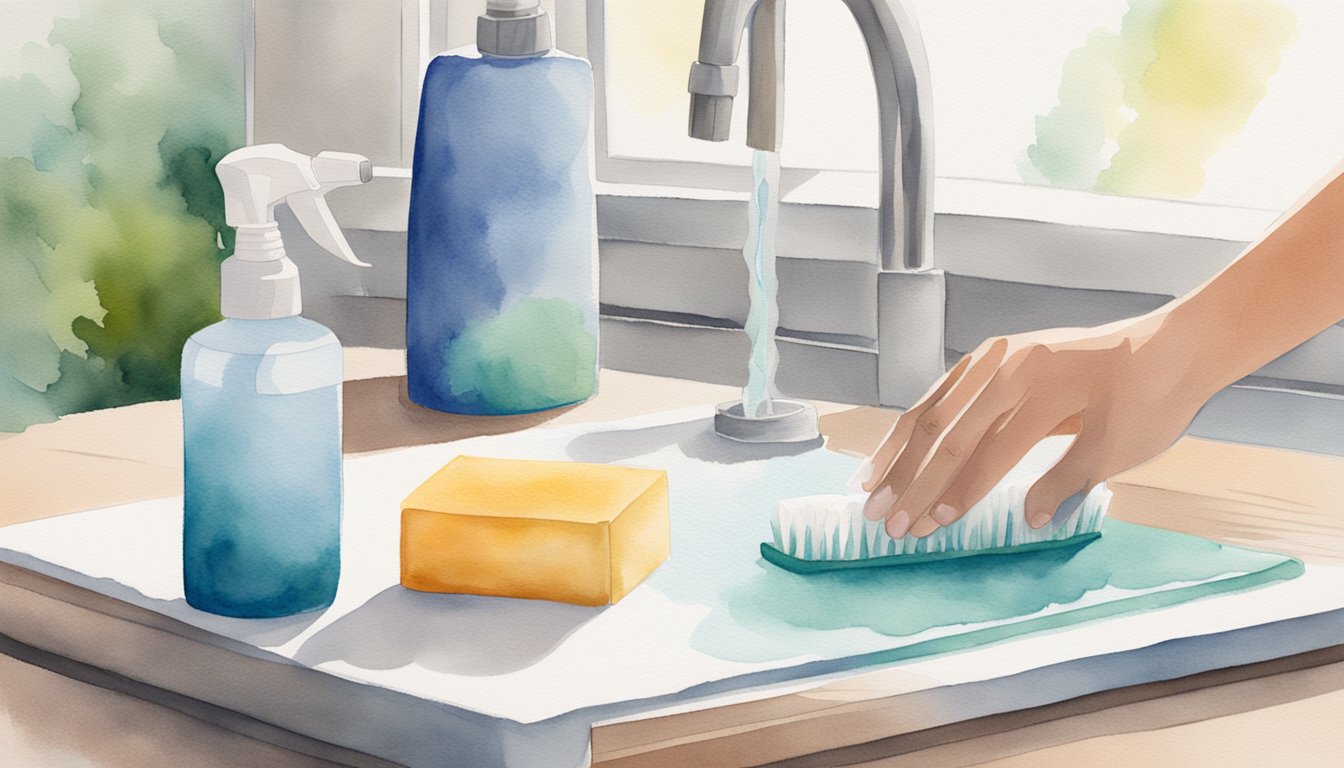
Once we’ve identified our mat type, we should gather the necessary cleaning tools. Essential tools include a plastic, hard-bristled brush, a lint roller, lukewarm water, and dish detergent like Dawn. A Cricut scraper can help with tougher debris. Having these tools ready will make the cleaning process smoother and more efficient.
Initial Removal of Debris
Before we begin with water and detergent, it’s important to remove as much debris as possible. We can start by using a lint roller to pick up lint, dust, and other small particles. For larger pieces of debris, a Cricut scraper can gently scrape off material without damaging the adhesive. This initial step ensures that the cleaning solution can work more effectively on the mat surface.
Deep Cleaning Process for Cricut Mats
When your Cricut mat loses its stickiness, it’s time for a deep clean. This involves a few detailed steps to ensure the mat gets thoroughly cleaned without damaging the adhesive.
Using Soap and Water
First, start by rinsing your Cricut mat with lukewarm water. It’s important to avoid hot water as it can damage the adhesive.
Next, apply a small amount of dish soap to the mat. Dawn dish soap is recommended. Gently scrub the soap into the mat using a plastic, hard-bristled brush.
Scrub in a circular motion to cover the entire surface. This will help remove dirt and grime effectively. Rinse the mat thoroughly with lukewarm water to wash away any soap residue.
Wiping Techniques for Stickiness Preservation
To remove remaining debris without damaging the adhesive, use alcohol-free baby wipes.
These wipes are gentle and won’t strip away the adhesive layer. Wipe the mat lightly, focusing on areas where debris is stuck. Another option is a lint roller. This works well for large debris.
Avoid pushing too hard, as pressure can reduce the mat’s stickiness over time.
Drying Your Mat Correctly
After cleaning, it’s crucial to let your Cricut mat air dry. Place the mat on a flat, clean surface. Do not use a towel or cloth to dry the mat, as fibers can stick to the adhesive.
Allow the mat to dry completely before using or storing it. This ensures that the adhesive regains its stickiness once dry.
Avoid exposing the mat to direct sunlight, as this can weaken the adhesive and warp the mat.
Avoiding Common Cleaning Mistakes
There are a few mistakes we should avoid to keep our mats in good shape. For example, using harsh chemicals can damage the adhesive, making the mat less sticky.
Scrubbing too hard or using metal tools can scratch the surface. Stick to plastic tools and gentle pressure.
Waiting too long between cleanings can make dirt harder to remove. Regular maintenance helps preserve the adhesive and prolong the life of the mat.
By following these steps, we can ensure our Cricut mats remain clean and sticky for many projects to come.
Maintaining and Storing Your Cricut Mat

Keeping your Cricut Mat clean and properly stored ensures it stays sticky and functional longer. Here are some essential tips for regular maintenance, proper storage solutions, and knowing when to replace your mat.
Regular Maintenance Tips
To keep the Cricut Mat in good condition, it’s important to clean it after every few uses. We recommend using alcohol- and bleach-free baby wipes for a quick clean. Gently wipe in circular motions to remove debris and dust. For a deeper clean, use lukewarm water with a small amount of dish detergent. Gently scrub using a plastic, hard-bristled brush.
Avoid using hot water as it can damage the mat’s adhesive. Allow the mat to air dry completely before using it again. Regular cleaning not only maintains the mat’s stickiness but also extends its life.
Proper Storage Solutions
Proper storage for your Cricut Mat is essential for keeping it dust-free and maintaining its adhesive grip. Store the mat in a dust-free environment. We suggest using the protective cover that comes with the mat whenever it’s not in use. This cover helps keep dust and debris off the mat surface. Hanging mats using hooks or storing them flat can also protect them from bends and creases. For a space-saving solution, consider hanging them with rubber-coated hooks.
Alternatively, use command hooks to hang them on the side of your working station or cart. Avoid stacking heavy items on top of the mat as this can lead to warping.
Knowing When to Replace Your Mat
Even with proper maintenance, Cricut Mats will eventually need replacing. Signs that it’s time for a new mat include loss of adhesive grip, deep cuts, and permanent stains that can’t be cleaned. If you notice that materials no longer stick well or the mat becomes noticeably damaged, it’s time to get a new one.
Regularly assess the condition of your mat to ensure optimal performance of your cutting machine. Keeping a few spare mats on hand is always a good idea, so you can quickly swap them out when necessary. This practice also helps maintain the warranty on your cutting machine by ensuring consistent and effective operation.


