Call us: (631) 270 9692
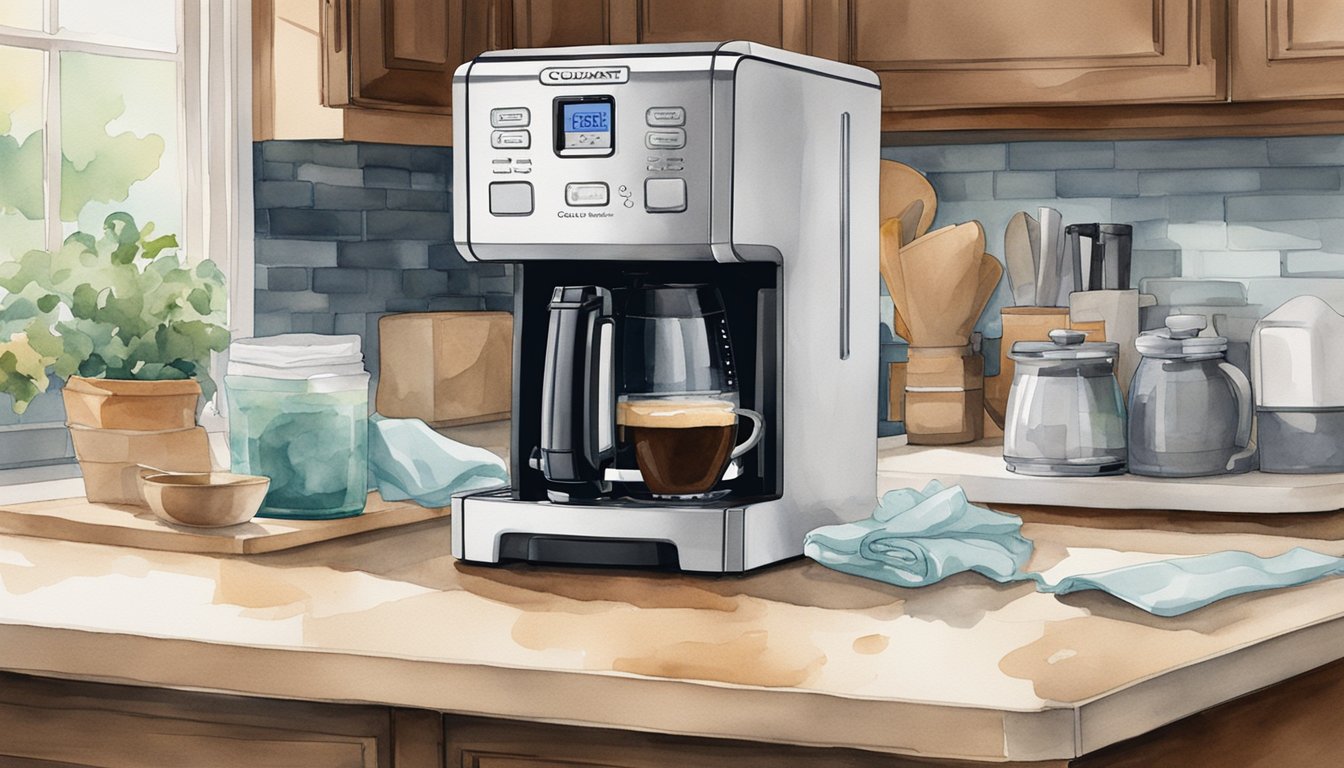
Cleaning your Cuisinart coffee maker is essential to ensure it continues making delicious coffee every day. We must regularly remove the charcoal filter, mix a vinegar solution, and use the self-cleaning feature if available. This cleaning process prevents the build-up of gunk and mineral deposits, which can affect the taste of your coffee and the machine’s performance.
After removing the charcoal filter, we can mix a vinegar solution to fill the reservoir. For models with a self-cleaning feature, pressing the “Clean” button will start the descaling process, making maintenance even easier. This step is crucial as it helps in maintaining the coffee maker’s efficiency and longevity.
We recommend unplugging the coffee maker and letting it cool before cleaning the external surfaces. Removing and washing the carafe and filter basket with warm, soapy water completes the cleaning process, ensuring every part of the machine is spotless. By following these steps, we ensure our Cuisinart coffee maker remains in top condition.
Daily Cleaning Routine
To keep your Cuisinart coffee maker running smoothly, it’s important to follow a daily cleaning routine. This not only ensures a fresh cup of coffee but also extends the life of your machine.
Carafe and Lid Cleaning
After brewing, we should always clean the carafe and its lid. Pour out any leftover coffee, then wash the carafe with soapy water. Using a sponge or dishcloth, scrub the interior and exterior thoroughly.
Rinse well to remove all soap residue. Remove the lid and wash it separately, paying attention to any grooves where coffee might linger. If you prefer, you can place both the carafe and lid on the upper rack of your dishwasher. Make sure they are completely dry before reassembling to avoid unpleasant odors or mold.
Filter Basket Maintenance
The filter basket collects coffee grounds and needs to be emptied and cleaned daily. Remove the used coffee grounds and discard them.
Rinse the filter basket under running water to remove any remaining grounds. For a more thorough cleaning, wash the basket with warm, soapy water.
If your filter basket is dishwasher safe, place it on the upper rack. This helps ensure it’s cleaned properly and conveniently. Make sure the basket is dry before putting it back into the coffee maker to prevent any buildup of residue or moisture.
Reservoir and Base Wiping
The reservoir and base also need attention to keep the coffee maker in top condition. After brewing, pour out any remaining water in the reservoir. Wipe it down with a damp dishcloth to remove any residue or mineral deposits.
Pay special attention to the base where spills and drips can collect. Wipe it with soapy water and a sponge, then dry it thoroughly. Regular cleaning of the reservoir and base helps prevent the buildup of mold and scale, making sure our coffee maker stays fresh and functional.
For more detailed steps, check out this cleaning guide. Following these daily cleaning steps, our Cuisinart coffee maker will stay in great shape, providing delicious coffee every day.
Deep Cleaning and Descaling
In this section, we will go through the steps to deep clean and descale your Cuisinart coffee maker. Keeping your coffee maker clean ensures better-tasting coffee and extends the life of the machine.
Descaling the Water Reservoir
Descaling helps remove mineral buildup from the water reservoir. First, mix a solution of equal parts water and white vinegar. Fill the water reservoir with this vinegar solution.
Next, press the clean button if applicable, then start a brewing cycle. Allow the solution to run through the machine entirely. This process effectively breaks down calcium deposits. After the cycle is complete, run two more brewing cycles with fresh water to remove any vinegar residue. Using filtered water can help reduce future mineral buildup.
Cleaning the Heating Plate and Exterior
To clean the heating plate, unplug the coffee maker and let it cool. Wipe the heating plate with a damp cloth to remove coffee stains and any residue. For tougher stains, use a baking soda paste and gently scrub with a cloth.
For the exterior, dampen a microfiber cloth in soapy water and wipe down all surfaces. Be sure to clean under the brew basket to remove any coffee grounds or spills. Keeping the exterior clean not only improves the machine’s look but also prevents malfunction due to buildup.
Replacing Water Filters and Charcoal Filters
Regularly replacing the water filter and charcoal filter is essential. The charcoal filter helps remove impurities from water, impacting the taste of your coffee. Start by removing the old charcoal filter from the water reservoir.
Rinse a new charcoal filter under cold water for a few minutes. Place it back in the water reservoir. Additionally, if your model has a water filter, replace it according to the manufacturer’s instructions. Regular filter replacement ensures optimal machine performance and better-tasting coffee.
Troubleshooting Common Issues

Keeping our Cuisinart coffee maker running smoothly requires addressing common problems like clogs, water leaks, and the clean light indicator. Regular maintenance and knowing how to handle these issues can prevent larger problems.
Dealing with Clogs and Coffee Oils
Clogs often occur in the coffee maker when oils from the coffee and mineral buildup from hard water accumulate. To clear clogs, we should start by running a mixture of one part vinegar to two parts water through the regular brewing cycle. This helps decalcify and remove oils.
After the vinegar solution, a few cold-water cycles should be run to rinse and remove any remaining vinegar. Cleaning the filter holder and the base unit also helps. Using paper filters instead of reusable ones can reduce oil buildup. Keeping the coffee grinder clean is equally important, as oils can transfer from the grinder to the coffee maker.
Regular maintenance, like monthly deep cleaning and avoiding hard water, can prevent clogs. Pro tips include using apple cider vinegar and warm water for deeper cleans.
Addressing Water Leaks and Overflow
Water leaks and overflow can happen due to misalignment of the water reservoir or faulty seals. First, we should ensure the water reservoir is properly seated and not overfilled. Inspecting the seals and the valve for wear and tear can also help.
Emptying and refilling the water tank correctly can address minor leaks. If the problem persists, it’s possible that the internal components have mineral buildup, requiring a more thorough cleaning. Decalcifying the internal lines and electrical heating equipment with a vinegar solution can resolve this.
Checking that the filter holder and carafe are correctly positioned can also prevent overflow. Regularly cleaning these parts can maintain their functionality and reduce issues.
Resetting the Clean Light Indicator
The clean light indicator is a reminder that it’s time to remove calcium deposits and other buildup. When the light remains on even after a clean, resetting it may be necessary. The process involves turning off the coffee maker and unplugging it for at least 30 minutes.
After plugging it back in, running a full clean cycle often clears the indicator. Another step is ensuring the water filter holder and all components are correctly placed. Sometimes, the clean light sensor itself might need attention, which involves more consistent cleaning practices.
Following a regular cleaning schedule can help maintain the coffee maker and prevent the need to frequently reset the light. Regular rinsing and using warm water during cleaning can also assist in this task.


