Call us: (631) 270 9692
Makeup sponges are essential tools in our beauty routine, but they can harbor bacteria and dirt if not cleaned properly. To maintain good skin health and achieve the best makeup application, it’s crucial to clean these sponges regularly. A dirty sponge can lead to breakouts and uneven makeup coverage, which we all want to avoid.
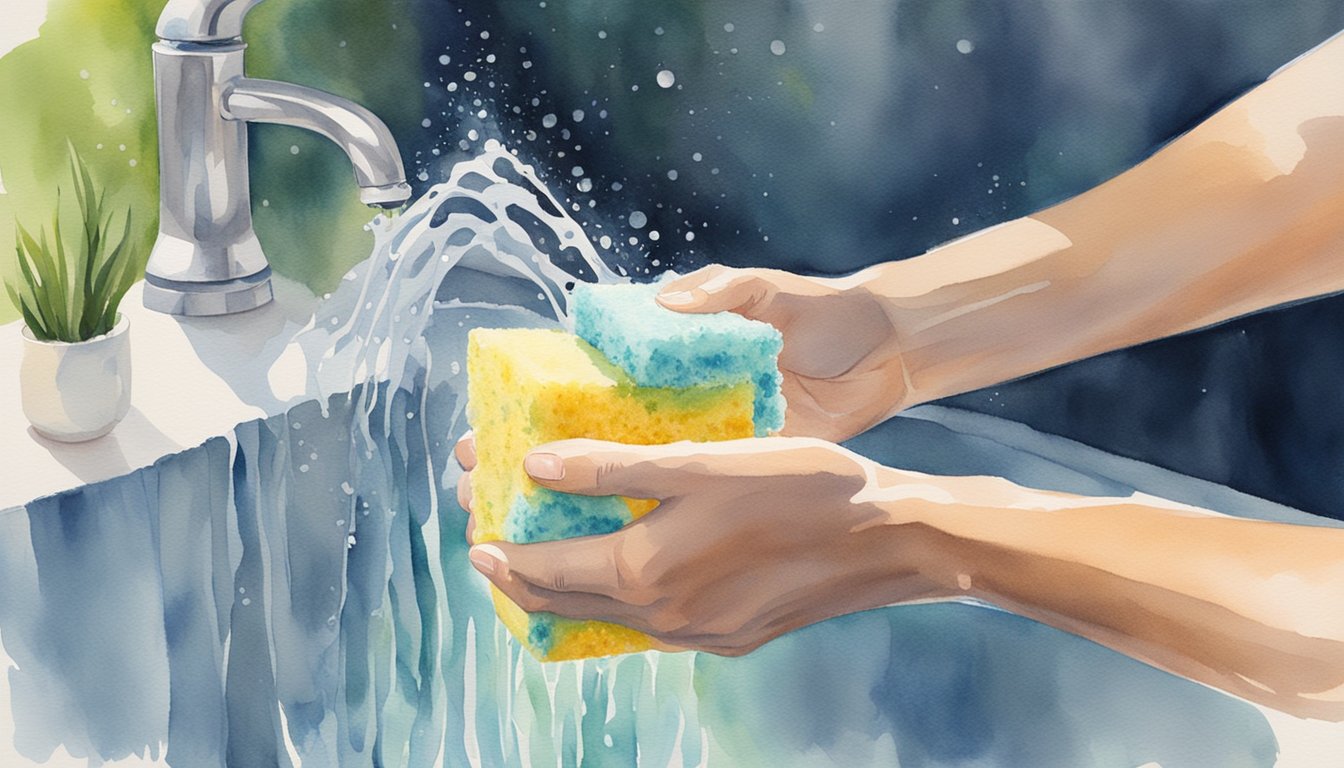
We start by wetting the sponge with warm water, which helps loosen the makeup particles. We then apply a small amount of liquid soap and massage it into the sponge, working out the dirt and oils. Thorough rinsing under warm water ensures that all soap is removed. This method not only leaves the sponges clean but also extends their usability.
For those who prefer a quicker method, microwaving the damp sponge in a cup of soapy water can be effective. This technique helps eliminate bacteria and refreshes the sponge for daily use. Keeping our makeup tools hygienic is key to healthy skin and flawless makeup application. Check out this detailed guide for more steps on using the microwave method.
Understanding the Importance of Makeup Sponge Hygiene
Keeping our makeup sponges clean is essential for both our skin health and the longevity of the sponges themselves. By regularly cleaning them, we can prevent skin issues and ensure our tools last longer.
Bacteria and Breakout Prevention
Dirty makeup sponges can harbor bacteria, which can lead to breakouts and skin irritation. When we use a sponge that hasn’t been cleaned properly, we’re spreading bacteria and old makeup residue onto our skin. This can clog our pores and cause acne.
Dermatologists agree that regular cleaning helps keep our skin healthy. A thorough cleaning once a week can significantly reduce the risk of skin problems. Using mild cleaners and warm water, we can remove dirt, oil, and makeup, ensuring we are using a clean tool every time.
The Lifespan of Makeup Sponges
Regular cleaning also extends the lifespan of our makeup sponges. When makeup and oils build up, they can break down the sponge material faster. By cleaning them, we help maintain their structure and performance.
We should replace our makeup sponges every three to six months, but this can vary based on how often we clean them and how frequently we use them. Proper care can help us get the most use out of our sponges and keep them in good condition. Frequent cleaning and proper storage are key to preserving their quality and effectiveness.
Cleaning Techniques for Makeup Sponges
Cleaning makeup sponges is essential to maintain hygiene and the effectiveness of your makeup application. We will discuss hand washing methods and mechanical cleaning techniques to ensure your sponges are thoroughly cleaned and sanitized.
Hand Washing with Soap and Water
Hand washing is one of the most effective ways to clean makeup sponges. Start by wetting the sponge with lukewarm water. Squeeze the sponge to remove excess makeup and dirt.
Next, apply a generous amount of liquid soap, dish soap, or baby shampoo to the sponge. Rub the sponge in your hands to create a lather. Concentrate on areas with heavy stains.
Once the entire sponge is lathered, rinse it under running water. Continue to squeeze and rinse until the water runs clear, indicating that all soap and makeup residues have been removed.
For stubborn stains, you might need to repeat the process. Ensure the sponge is completely dry before using it again to prevent bacteria growth.
Mechanical Cleaning Methods
Mechanical methods can save time and ensure a thorough clean. One popular method is using the washing machine. Place your makeup sponges in a mesh laundry bag to protect them. Use a gentle cycle with mild detergent. Avoid using fabric softener as it can leave residue on the sponges.
Another quick method is the microwave technique. Submerge the sponge in water mixed with a small amount of soap in a microwave-safe bowl. Heat the bowl for about one minute. This helps to sanitize and break down makeup residues. Allow the sponge to cool before rinsing thoroughly under running water.
Both methods are efficient but require careful handling to avoid damaging the sponges. Always ensure the sponges are completely dry before storing them.
For more detailed instructions, visit the guide on how to clean makeup sponges.
Maintenance and Care Post-Cleaning

Keeping our makeup sponges in great condition requires proper drying methods, appropriate storage, and knowing when to replace them. Following these tips ensures our sponges remain hygienic and efficient for longer.
Proper Drying Methods
After cleaning, it’s important to let our makeup sponges air dry completely. The best way to do this is by placing the sponge on a clean towel. We should gently squeeze out excess water with a paper towel beforehand. Make sure the sponge is in a well-ventilated area. Avoid putting it in a closed space that might trap moisture, as this can lead to bacterial growth. A dry sponge helps maintain cleanliness and prolong its use.
Storage and Makeup Sponge Care
Proper storage is vital for keeping our makeup sponges clean. It’s best to store them in a breathable container or mesh bag so air can circulate and prevent mold. Avoid keeping the sponge in a makeup bag right after use, as the trapped moisture can lead to bacteria. It’s also a good idea to have multiple sponges on hand. Rotating between them allows each one to dry thoroughly between uses. This practice helps maintain their hygiene and ensures we always have a clean sponge ready.
When to Replace Your Sponge
Despite our best efforts in cleaning and maintaining them, makeup sponges do need to be replaced regularly. We should replace a sponge every three months or sooner if it develops tears or loses its shape. Pay attention to any lingering stains or smells even after cleaning, as these can be signs it’s time to get a new one. Replacing sponges regularly ensures they perform well and keep our makeup application smooth and hygienic. Regular replacement not only keeps our skin healthy but also supports the longevity of our makeup tools.


